First part was here
Now we go next, upgrade table with new options and customize it.
Our database could have millions of records and even with pagination configured it could be almost impossible to find required data.
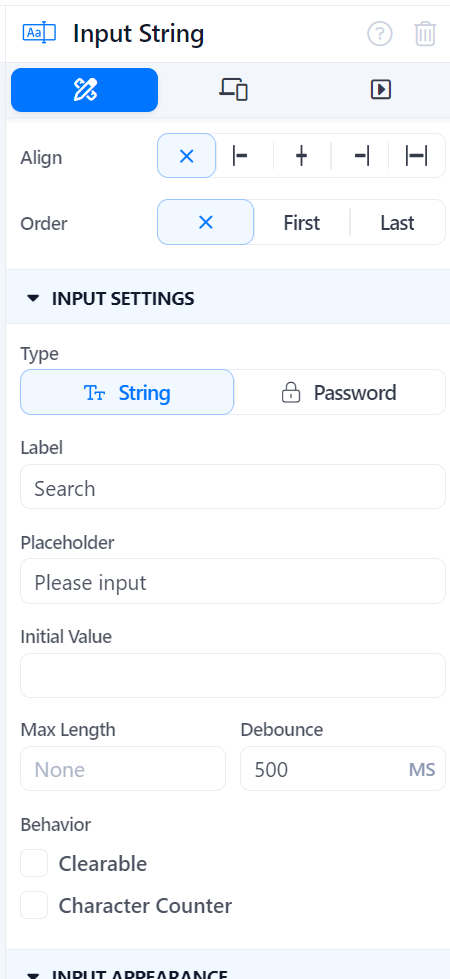
Need to add additional inputs to help with data search. Let it be Input String and Switch.
Now we need to configure the backend business process for GET /order/ endpoint.
DB: Search order block should be configured for partial match of data from the Search string. So we need to set “_ilike = true” and place the search string between % like shown in the screenshot.
If the “Processing only” switch is activated then only appropriate order statuses should be searched. So we set one Order_status array enum if Processing is True or leave it empty (and search for all statuses) if Processing is False.

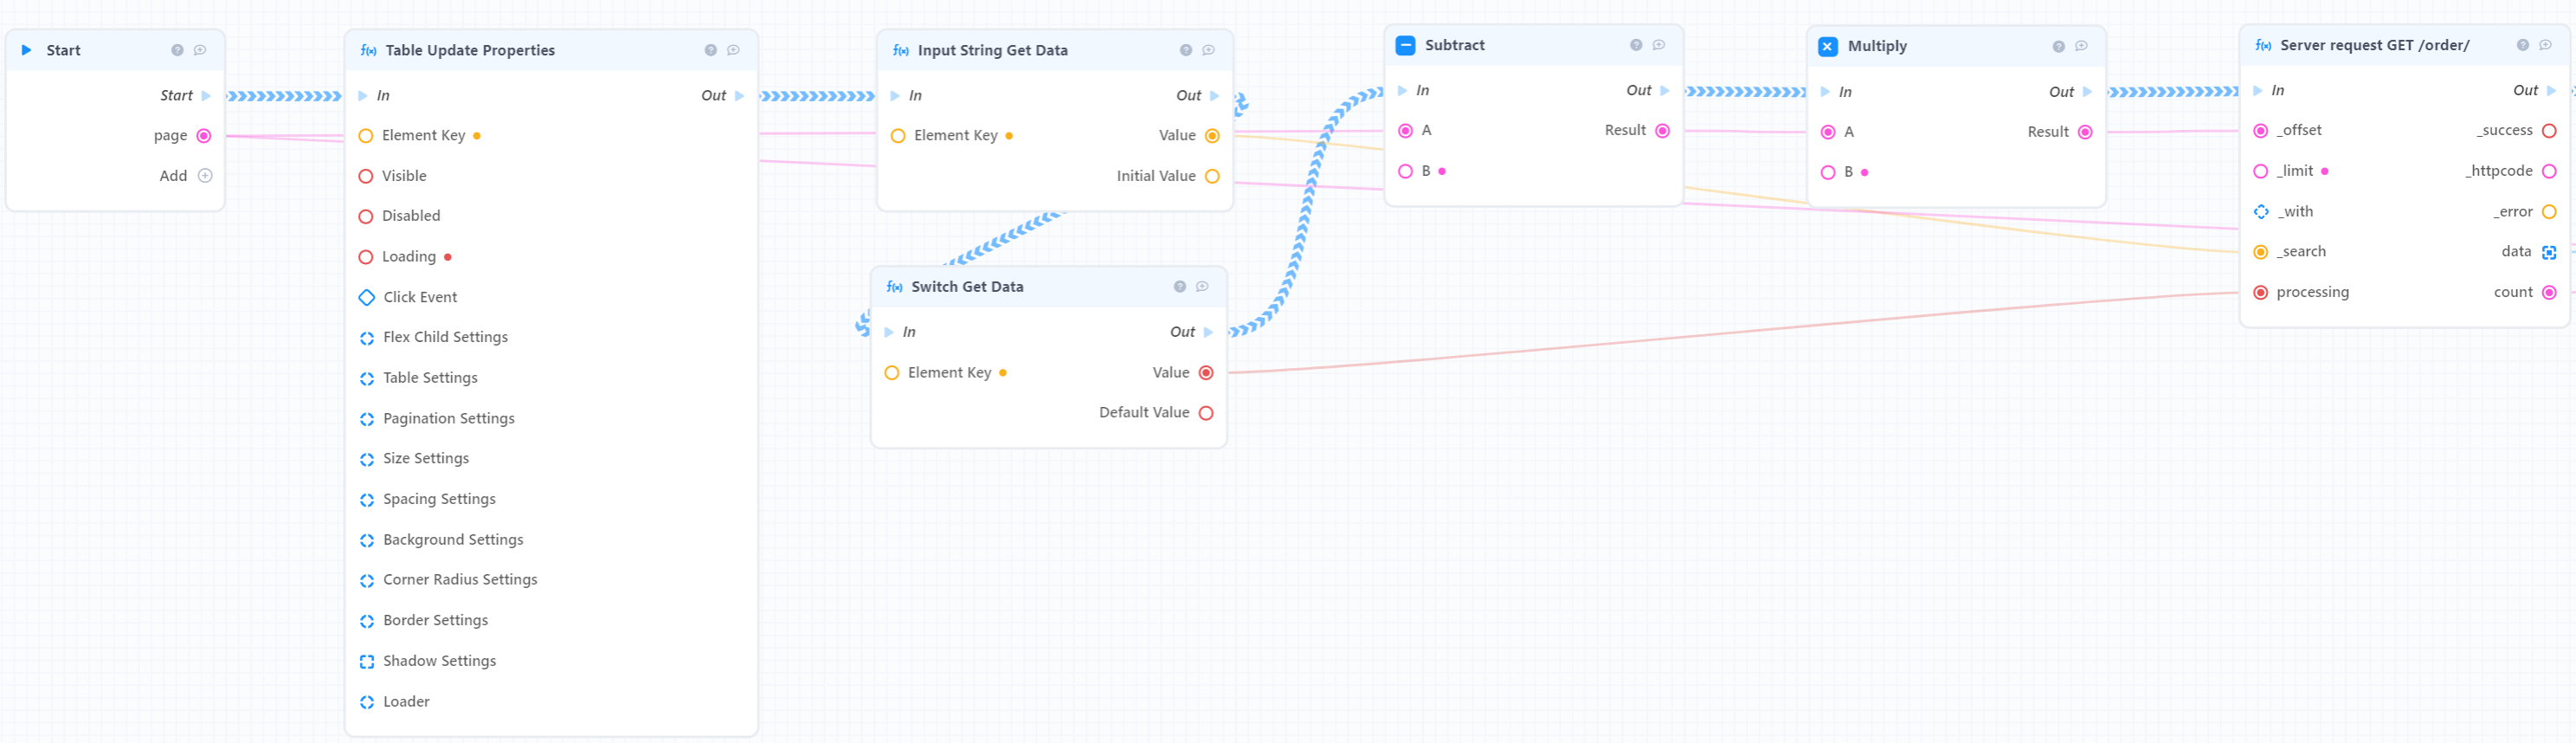
Now we can go back to the frontend and configure the business process for the frontend search function (Logic tab).It should be almost the same as the table process of On Pagination Change trigger (and uses Page as input parameter) with two additional blocks to get data from Input String and Switch to provide it to endpoint.
The Process for On Pagination Change trigger in the table should be replaced with a new function.
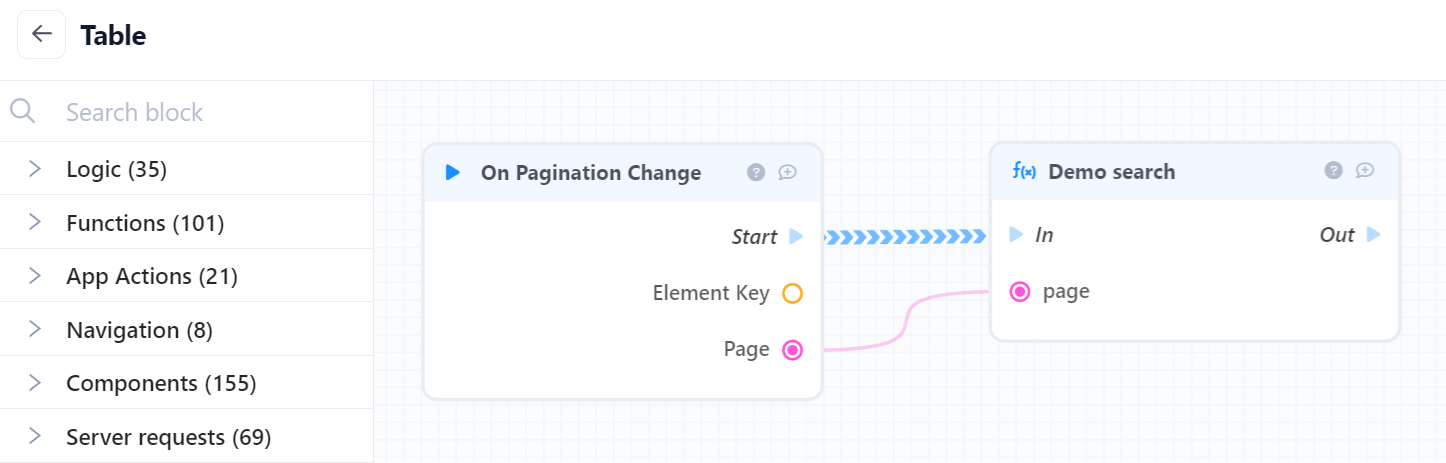
The same should be done for Input String and Switch On Change trigger. Page parameter should be set = 1 (go to first page during search).
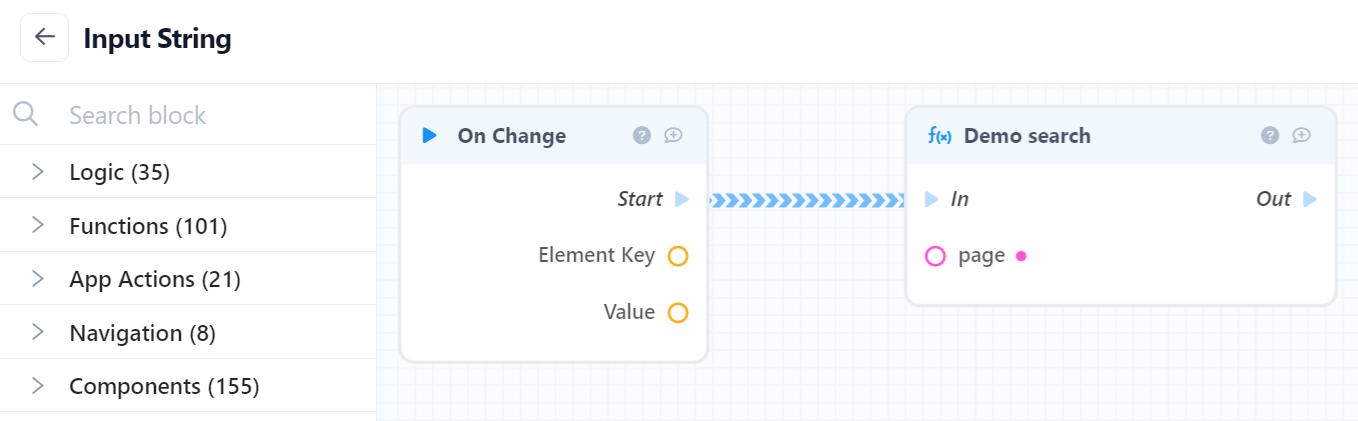
Could be useful to set Debounce parameter for Input String. Debounce 500 means that 0,5 second delay will be done before On Change trigger activation.
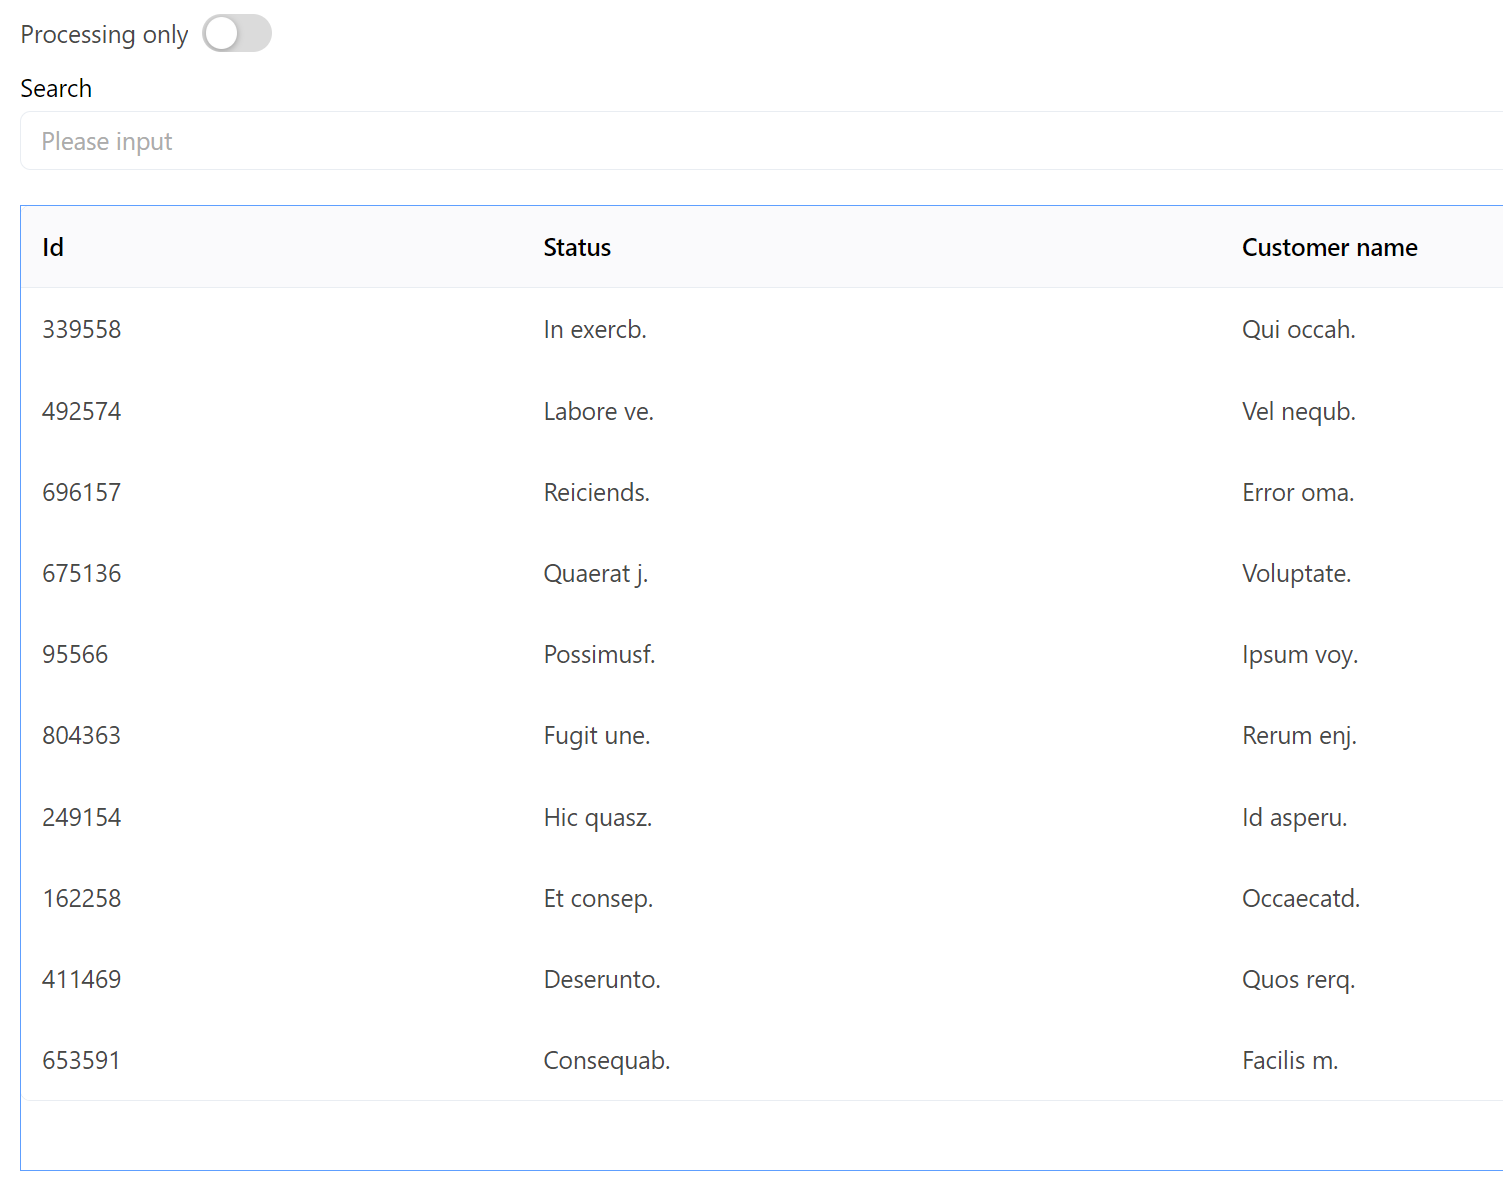
Search and filter settings are ready to use in the table.
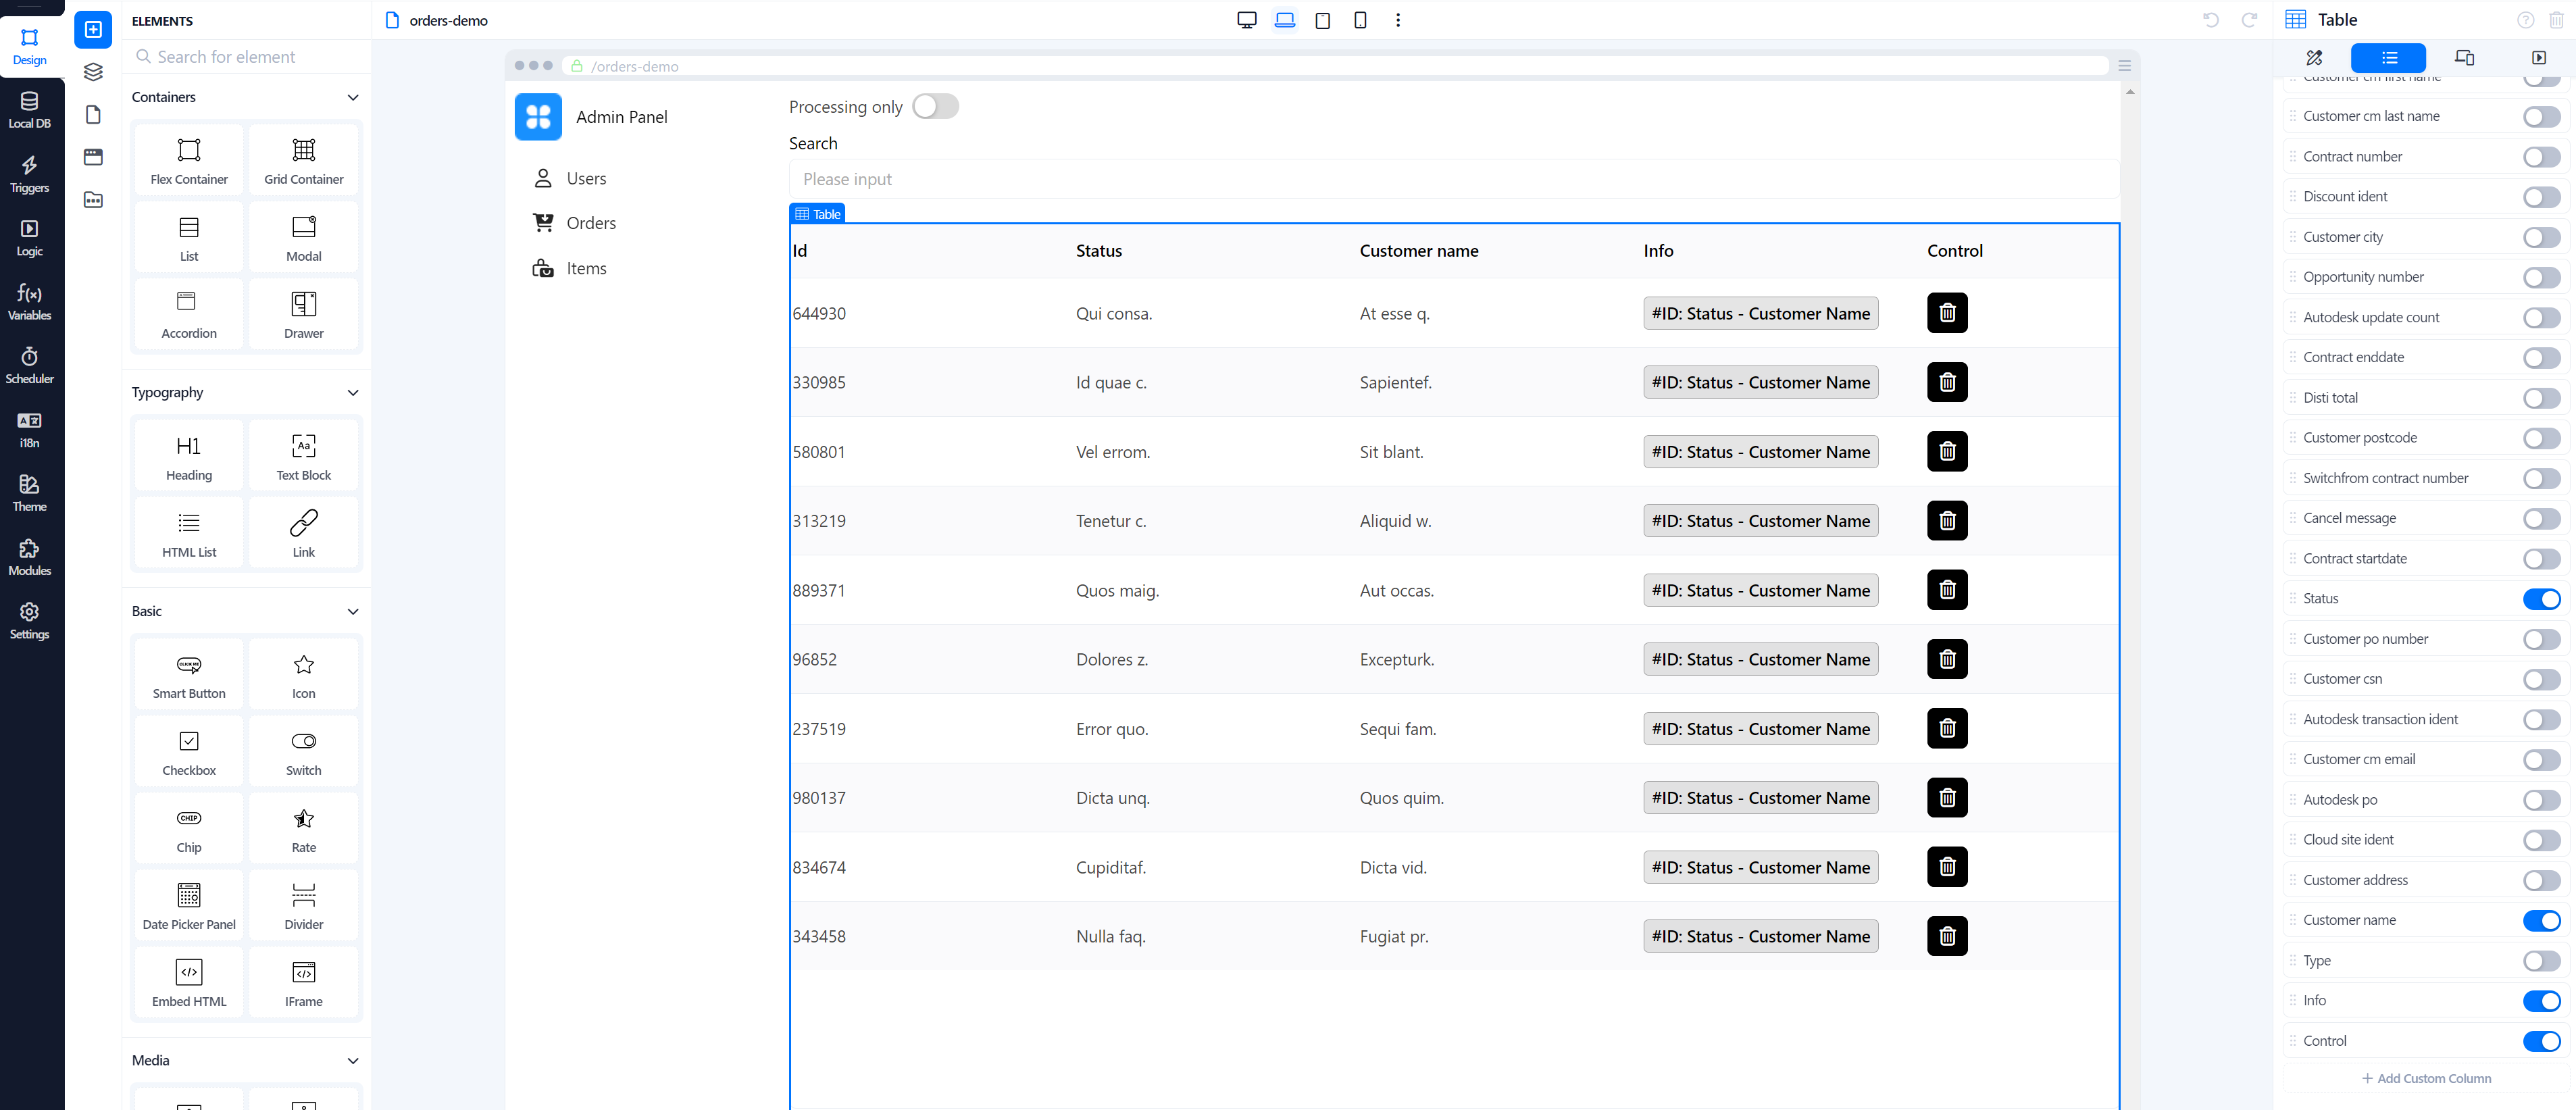
Now we can go next and make our table more beautiful and interactive. Let’s add custom columns that will make table data customizable and add controls.
We will add a special column for the Delete button (this could also be edit, select, navigate or any other) and replace 3 columns of ID, Status and Customer name with one combined column containing all this information.
Go to the table settings, use the “+ Add Custom Column” button, drag elements inside (I use Chip and Smart Button as examples) and configure view settings for them.
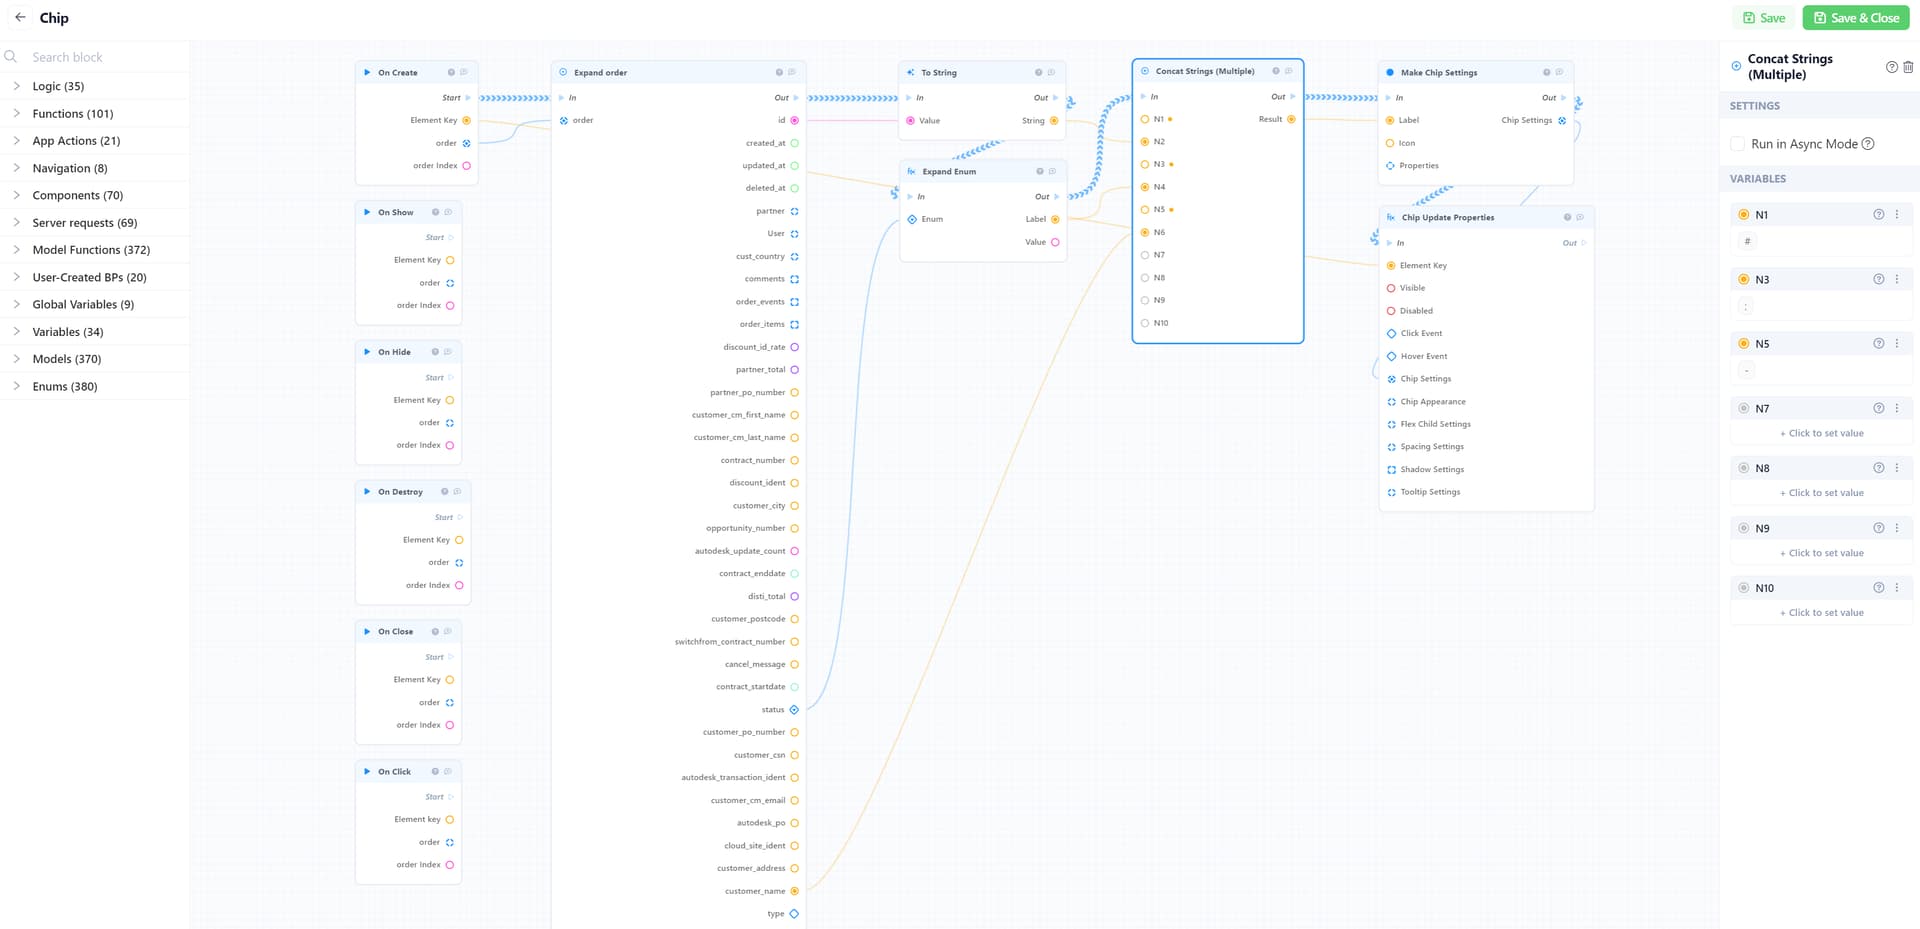
Let’s start with Chip and create a process for the On Create trigger. All information is available in the expanded Order model. We just need to convert various data types to string, combine it using the Concat Strings (Multiple) block and update Chip Properties with a new label.
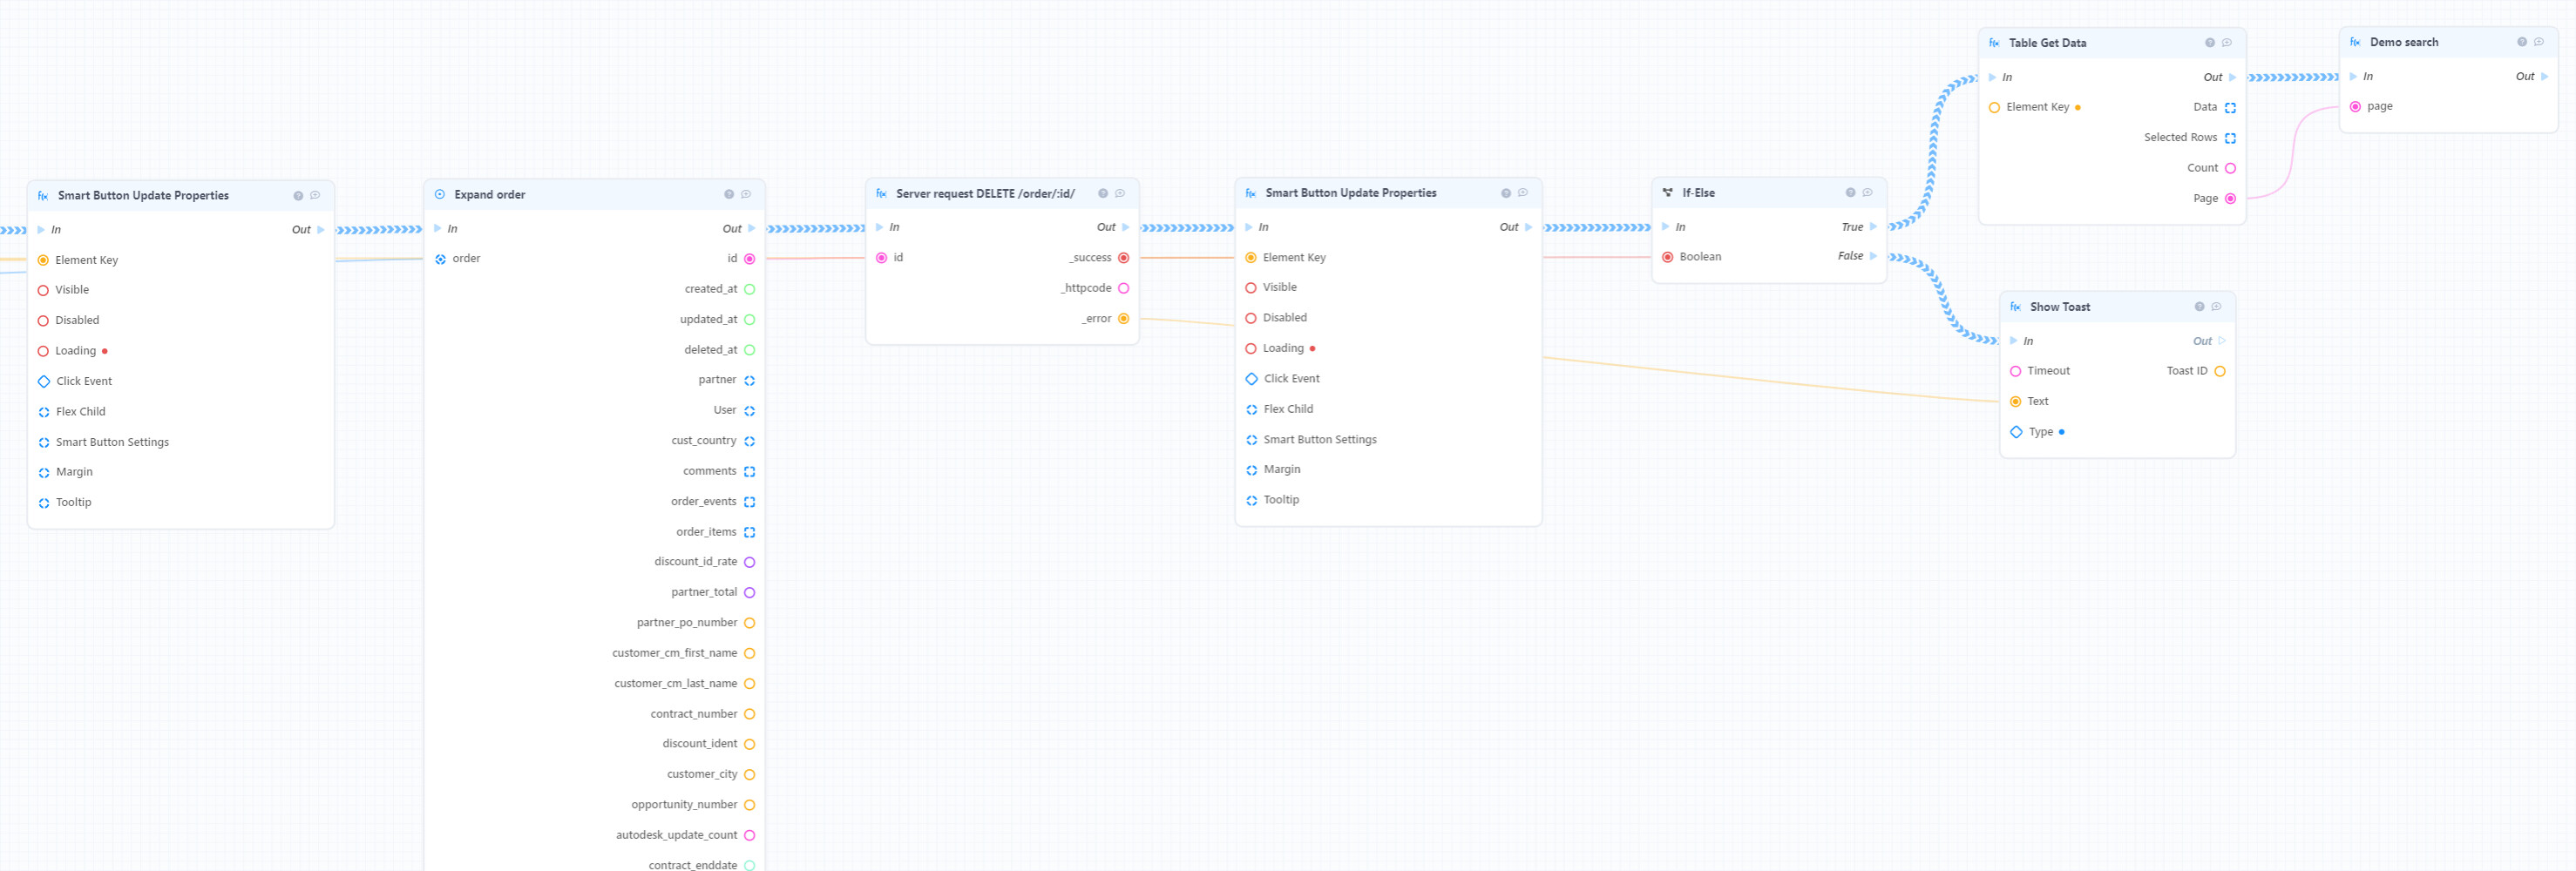
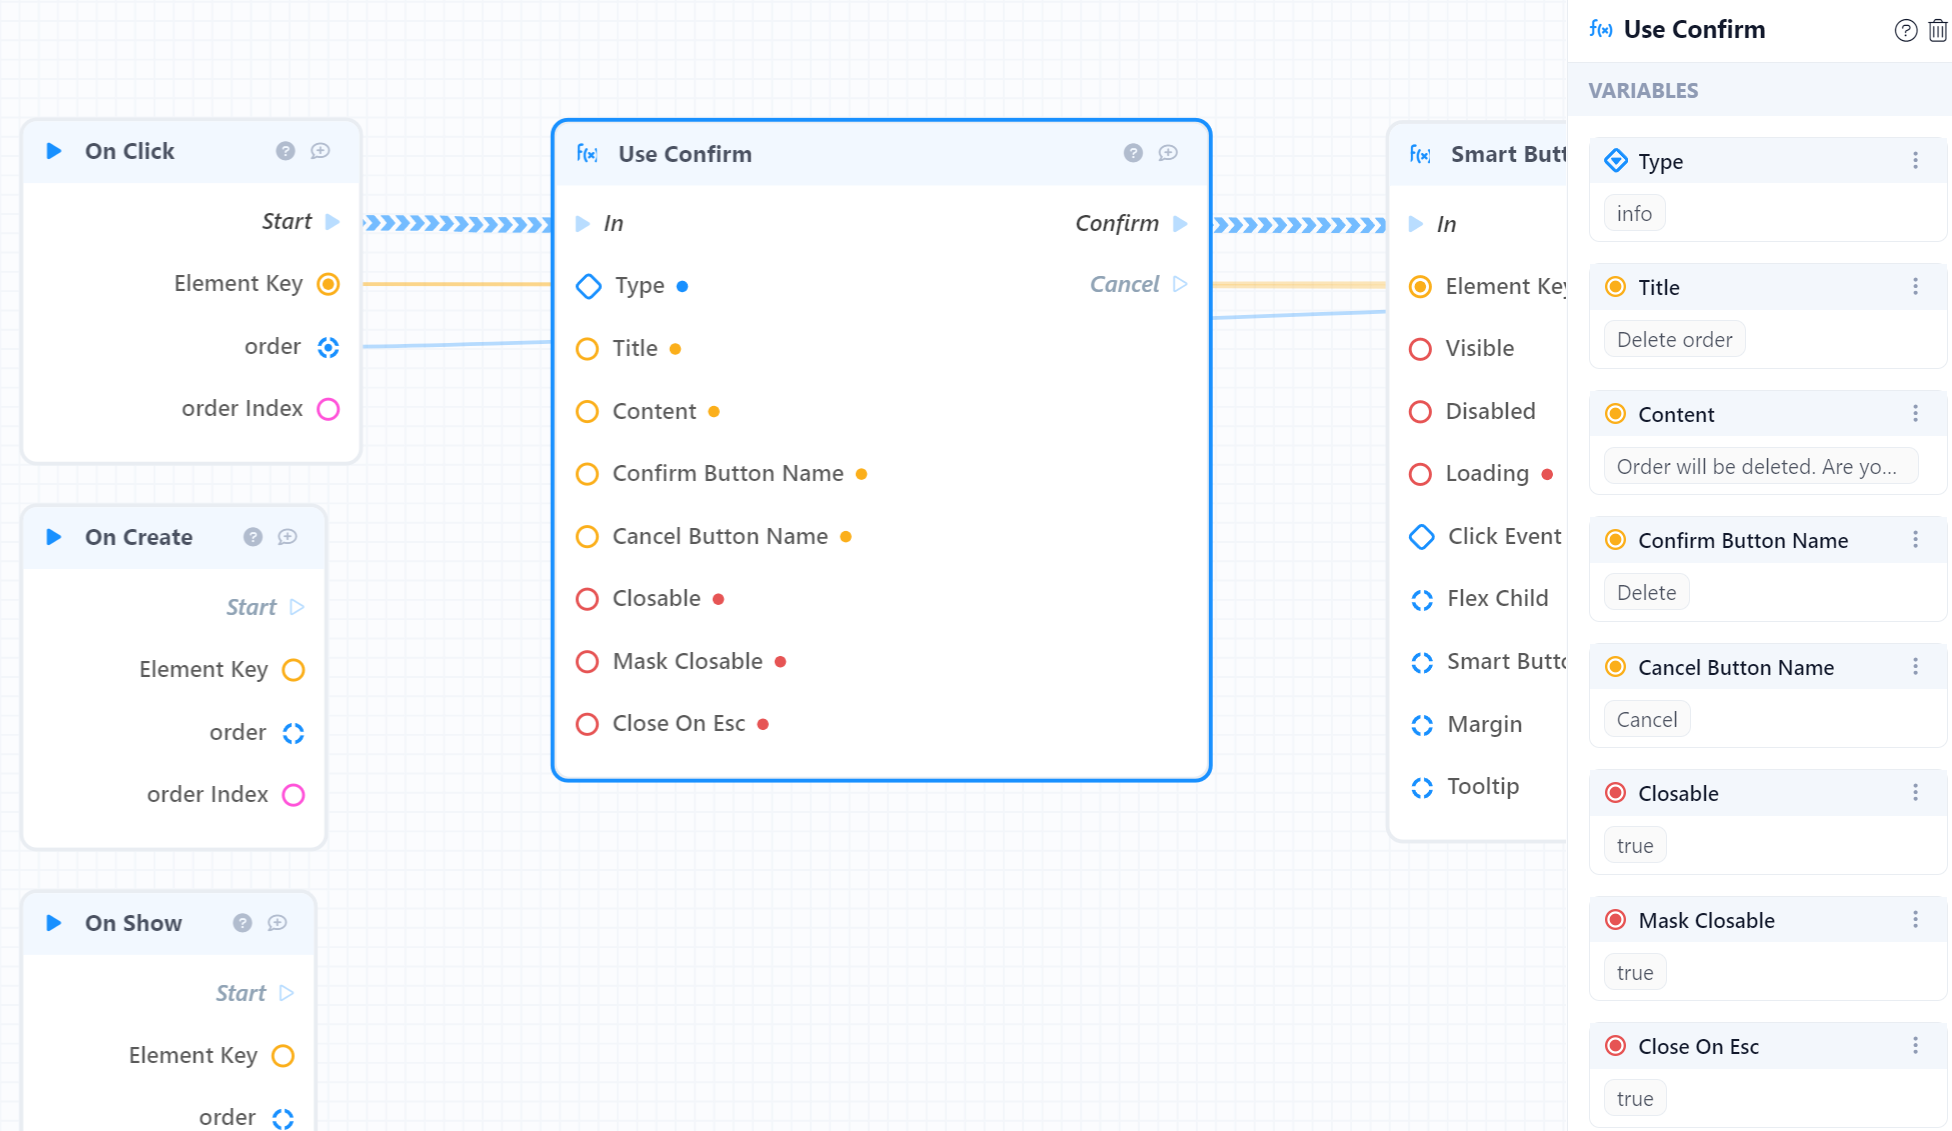
Process for Delete button click could be a bit more complex. Let’s start it with a confirmation block to protect users from misclick and require confirmation to delete order. Users will be able to confirm deleting and start the process or cancel it.
Next steps are:
- Set loading state for delete button
- Expand order to get ID
- Make server request to Delete /order/:id endpoint
- Remove loading state
- Check server request result. Show toast with error information if something was wrong or update data in the table if delete was successful.
Done! Now the table has custom columns with required data and control buttons to interact with it.
Don’t forget to Push Changes and publish application to use it.