This guide walks you through designing a web app with a layout that allows the page content to scroll independently of other elements.
Let’s build a web app with a page template that allows scrolling inside page content independent of outside elements.
Setting Up the Layout
Open AppMaster Web Designer and choose the layout from the Layout Tree (shortcut 4), or create a new one using CTRL/⌘ + L.
Navigate to the Element Tree (shortcut 2), select the root Layout container.
Set the next container’s properties:
- Height → 100VH
- Overflow → Hidden.

Adding Header
Access the list of UI elements (shortcut 1), then drag and drop the Flex Container onto the top of the Layout Container.
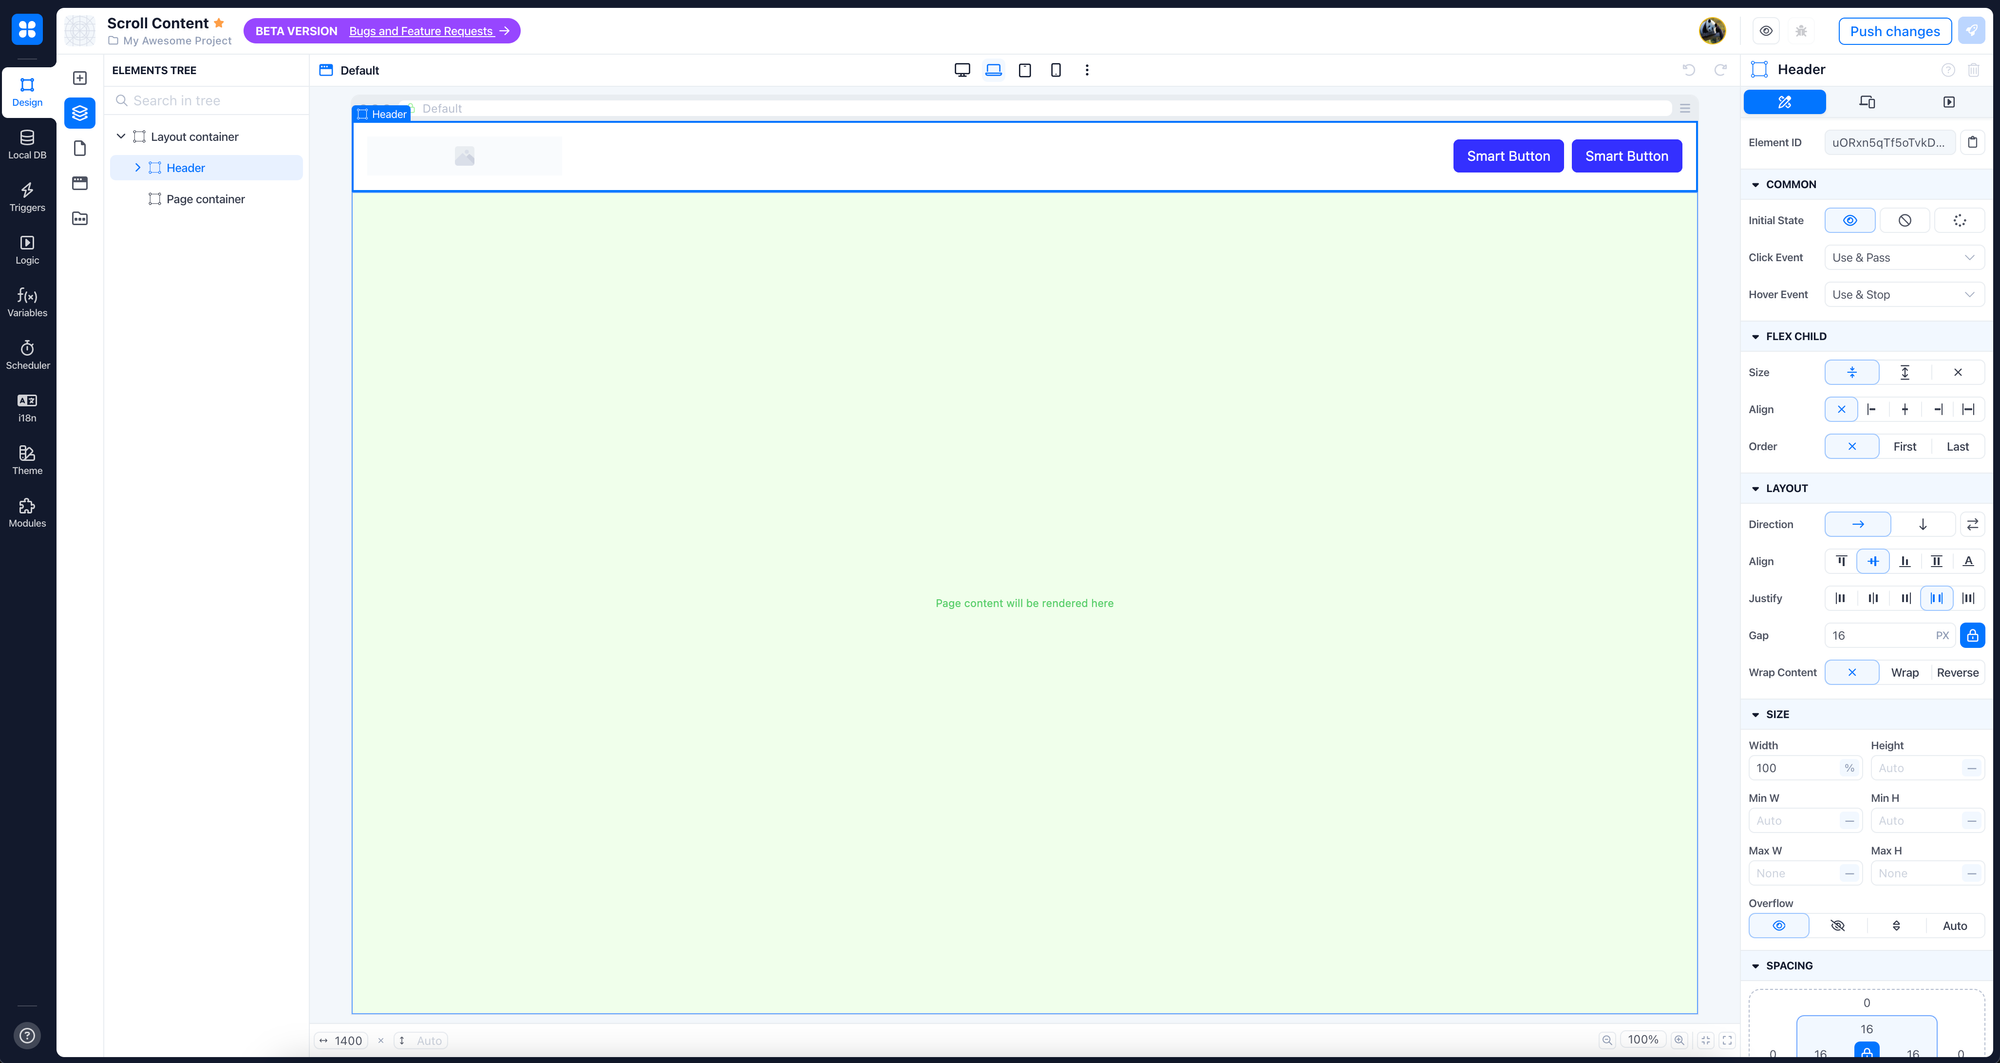
Place header elements like logos, text blocks, links, and buttons inside the container. Grouping elements in a common container can streamline their arrangement and enhance the user experience.
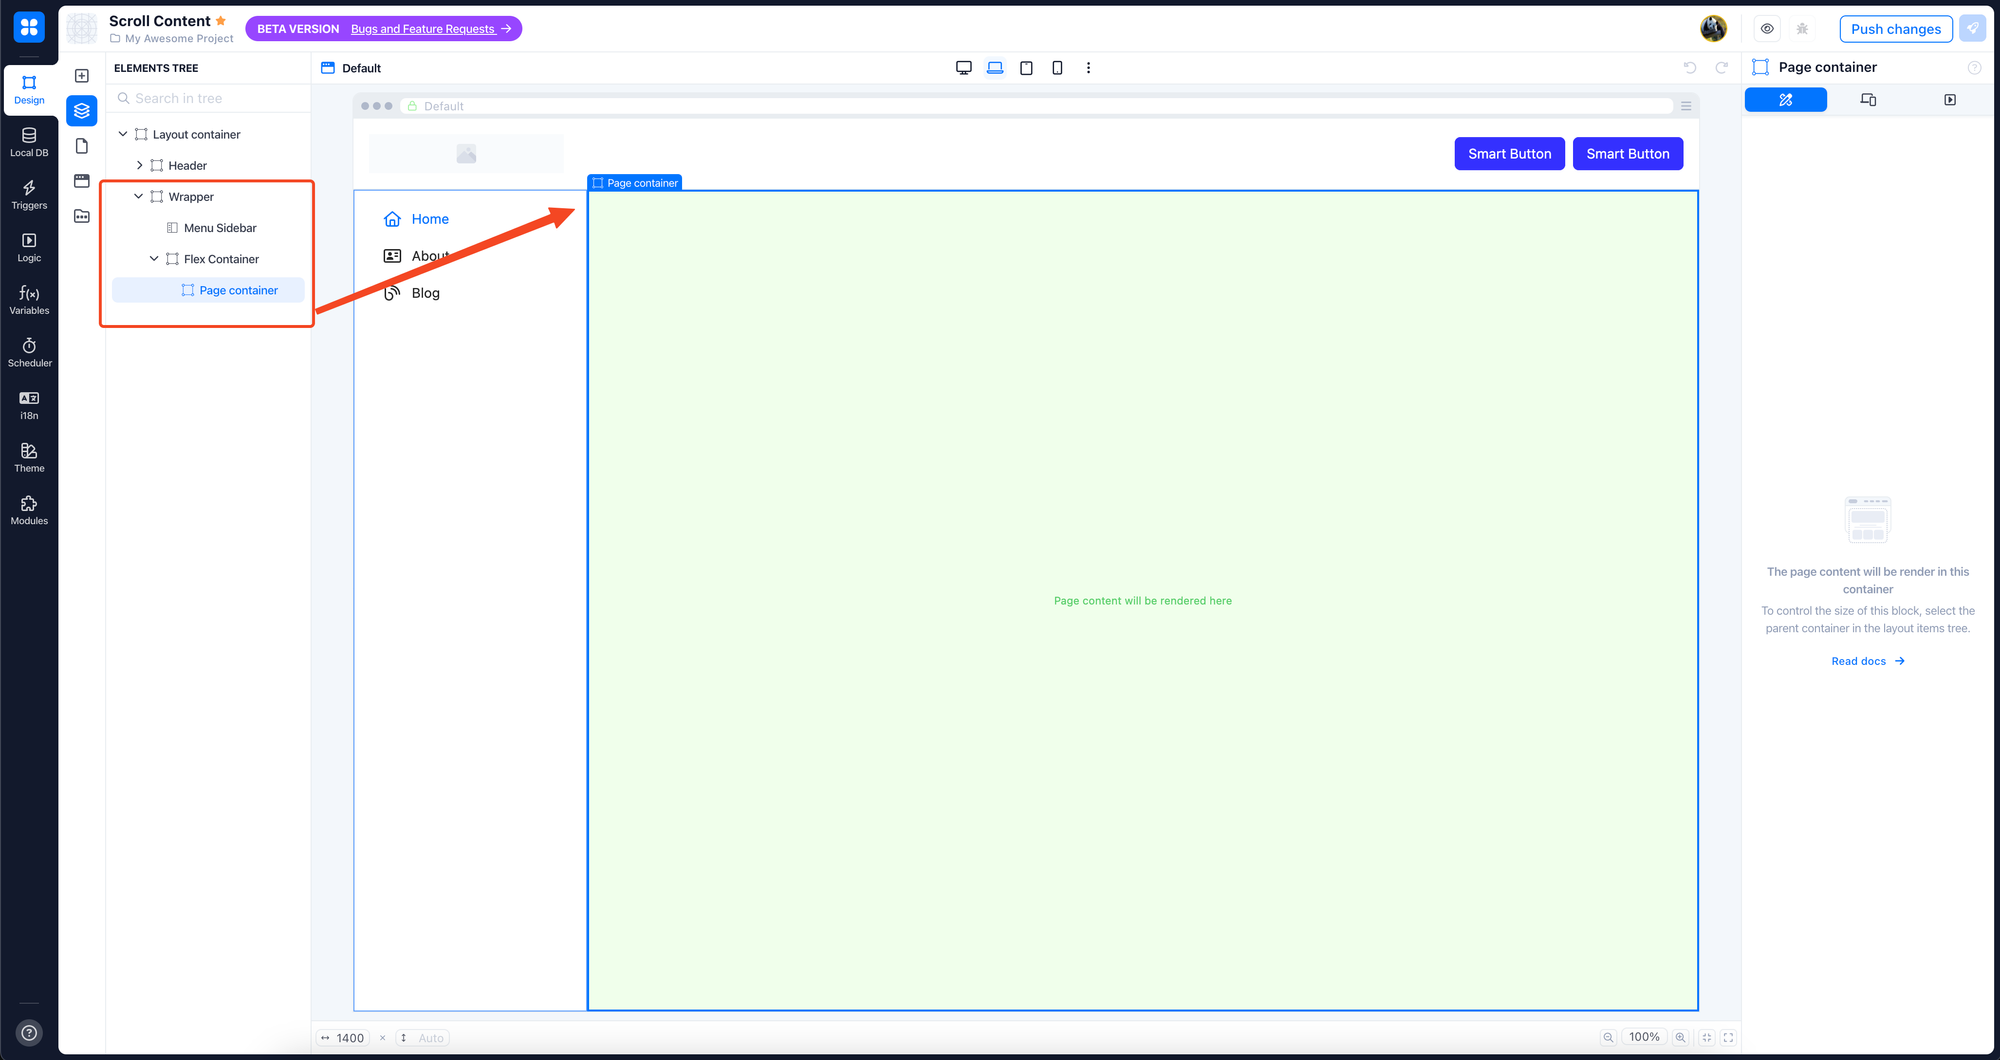
Adding a Wrapper
Place a Flex Container below the header and rename it as Wrapper (double click on the container name in the Element Tree or Properties Panel).
Configure Wrapper Settings:
- Flex Child → Size → Fill Available Space
- Layout → Direction → Horizontal
- Layout → Align → Stretch
- Size → Overflow → Hidden

Adding Sidebar and Content Area
Drop a Sidebar Menu on the left and another Flex Container on the right within the Wrapper Container.

Select Flex Container on the canvas and set the Overflow property to Auto.

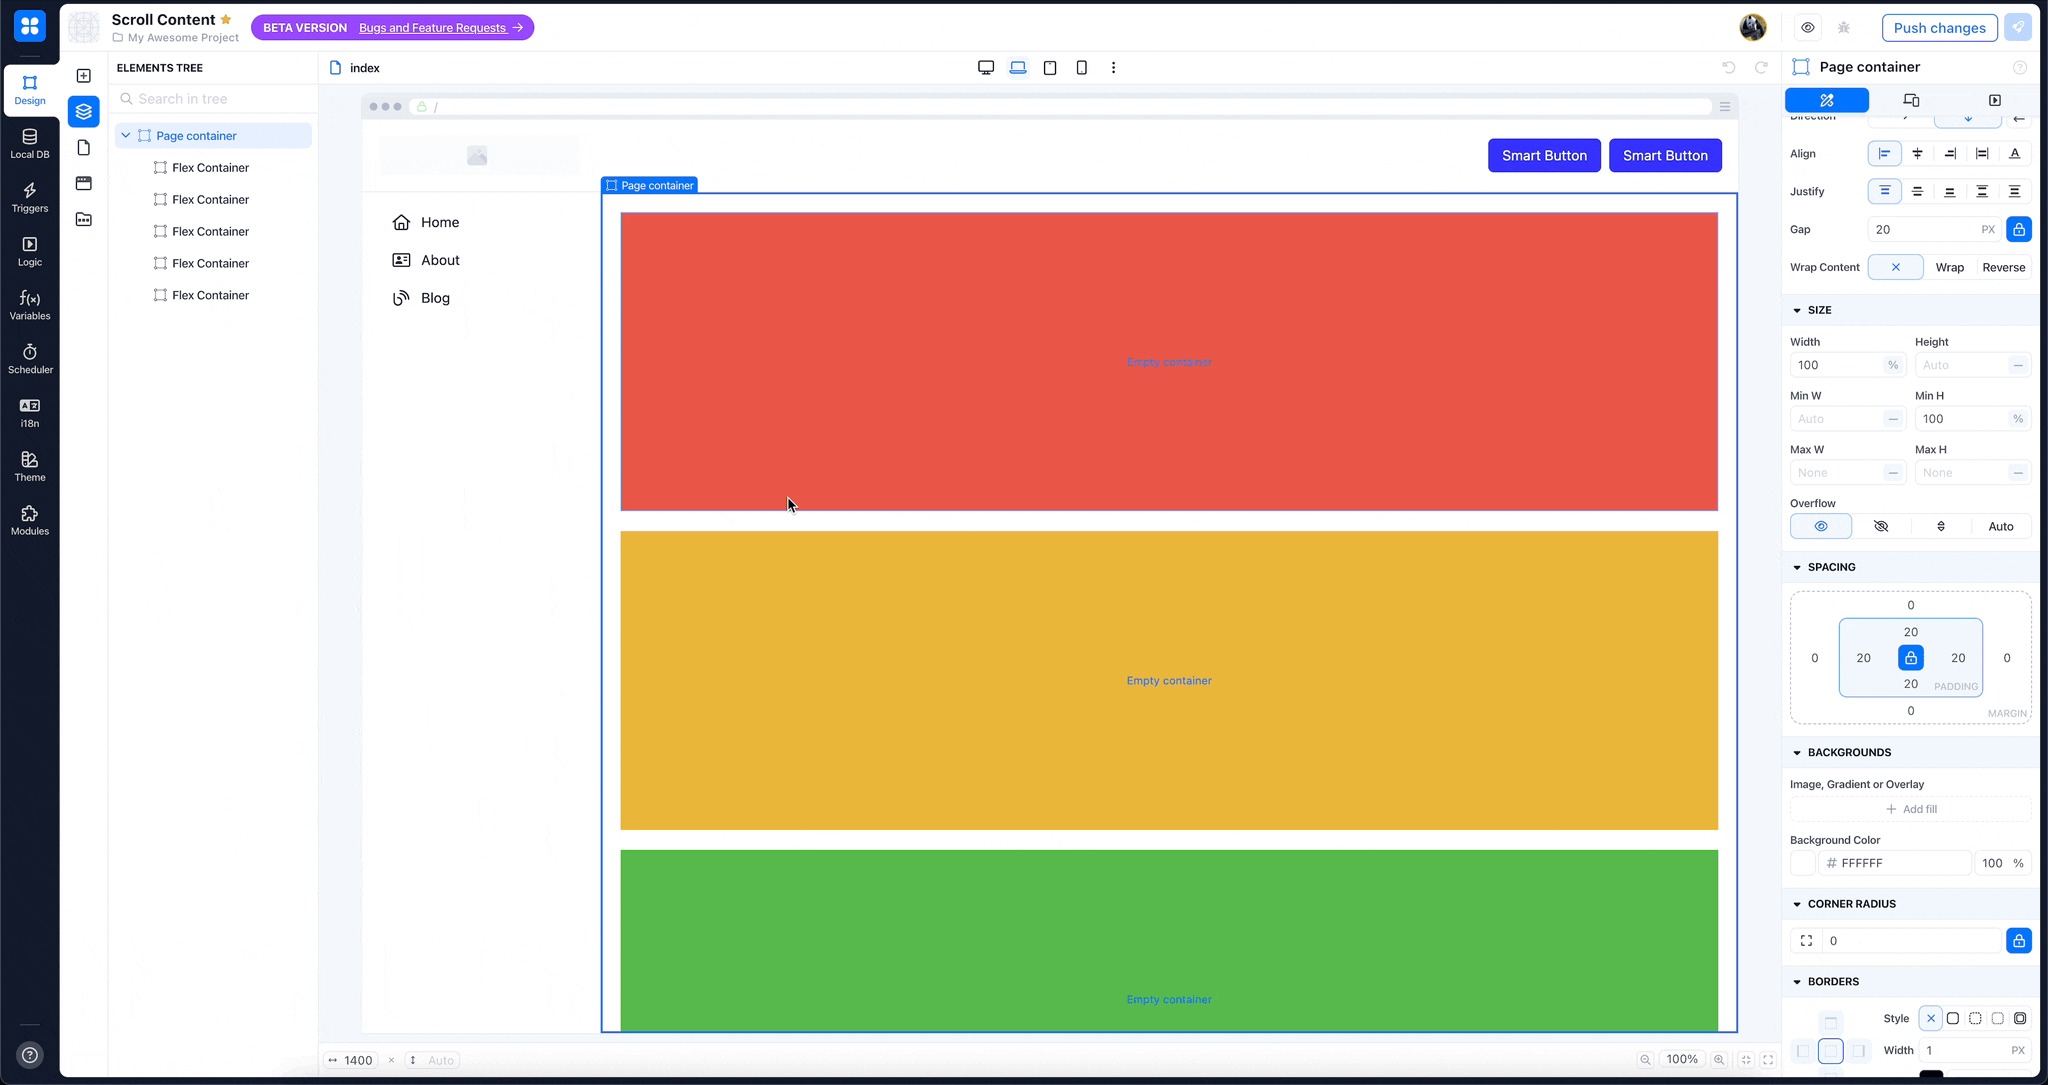
Drag the green Page Container from the bottom inside the right flex container.
Customize the resulting layout.
Create pages
Navigate to the Pages tree (shortcut 3). Select a page from the list or create a new page based on the previous steps created layout.
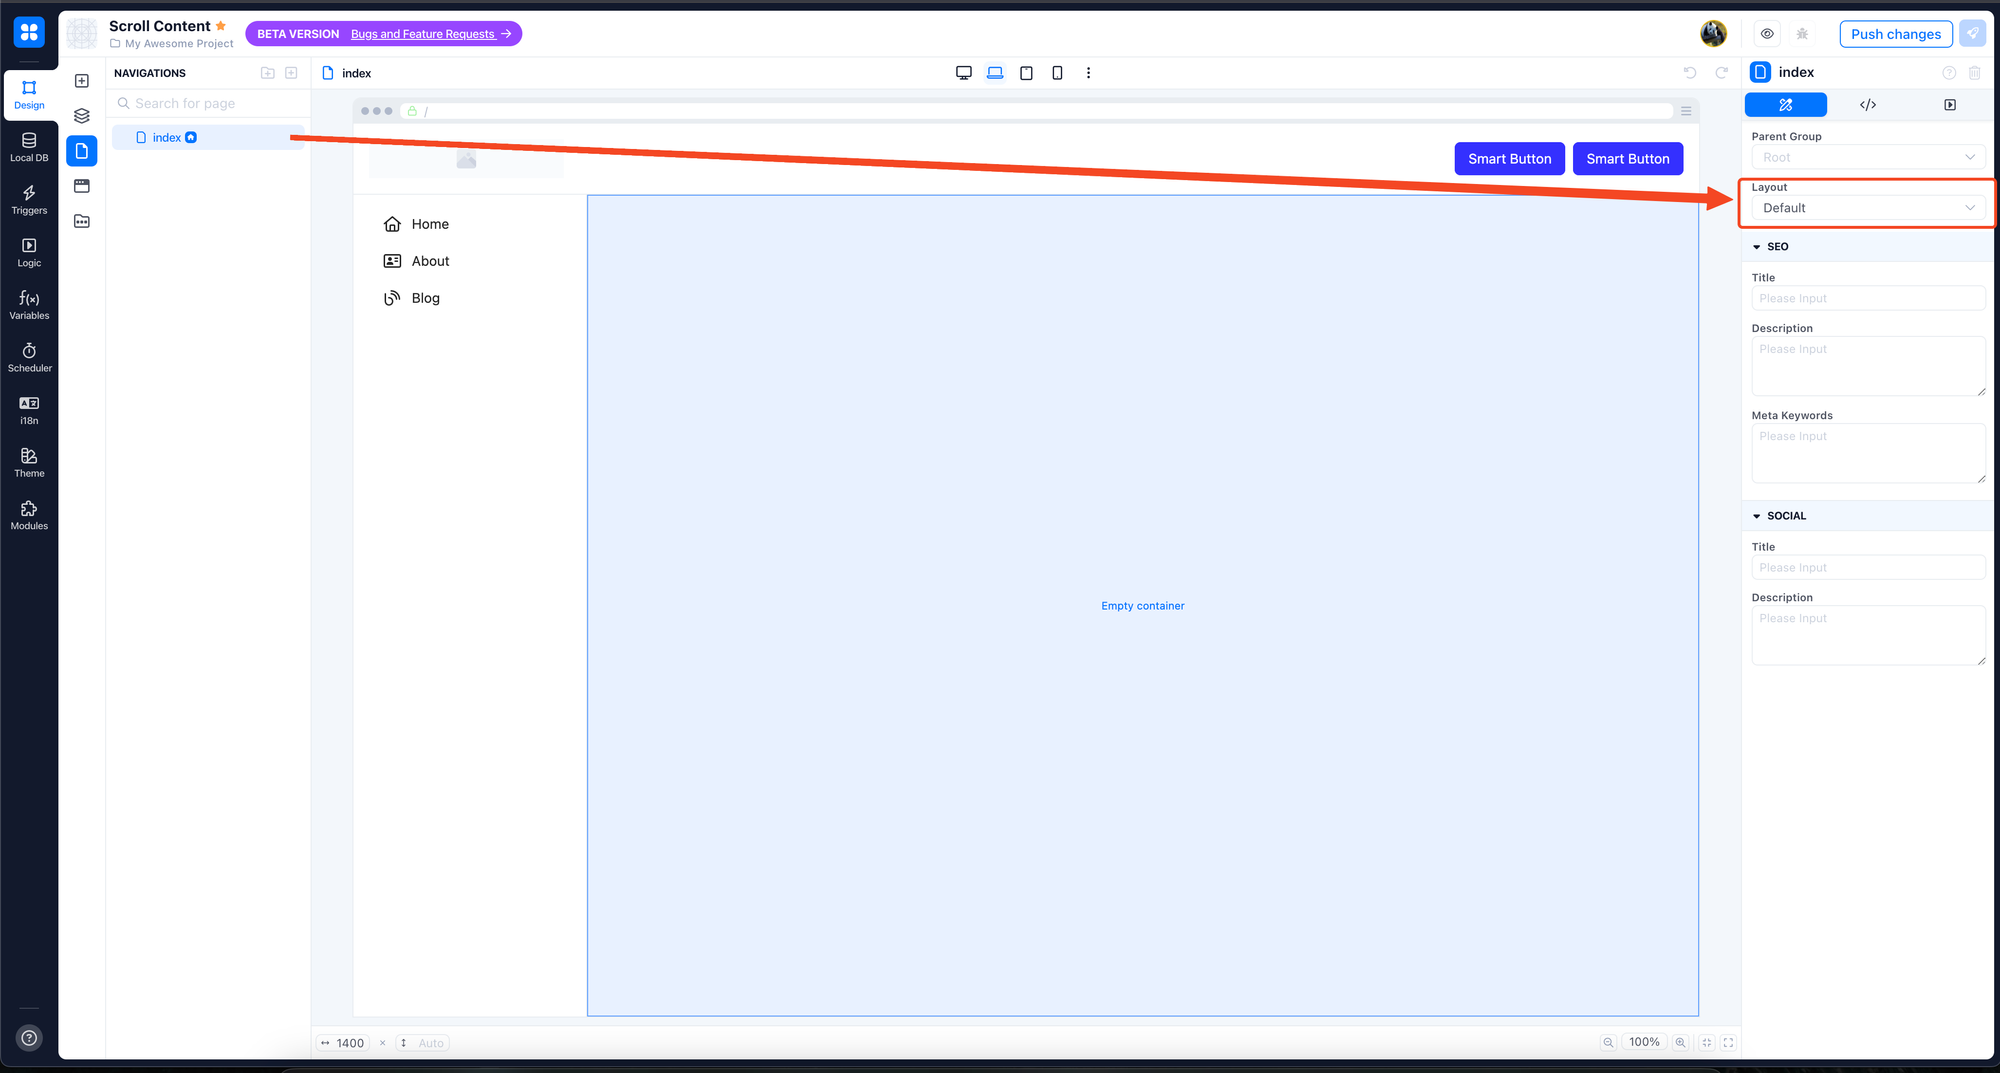
Adjust the root Page container with:
- Direction → Vertical
- Height → Auto
- Min H → 100%
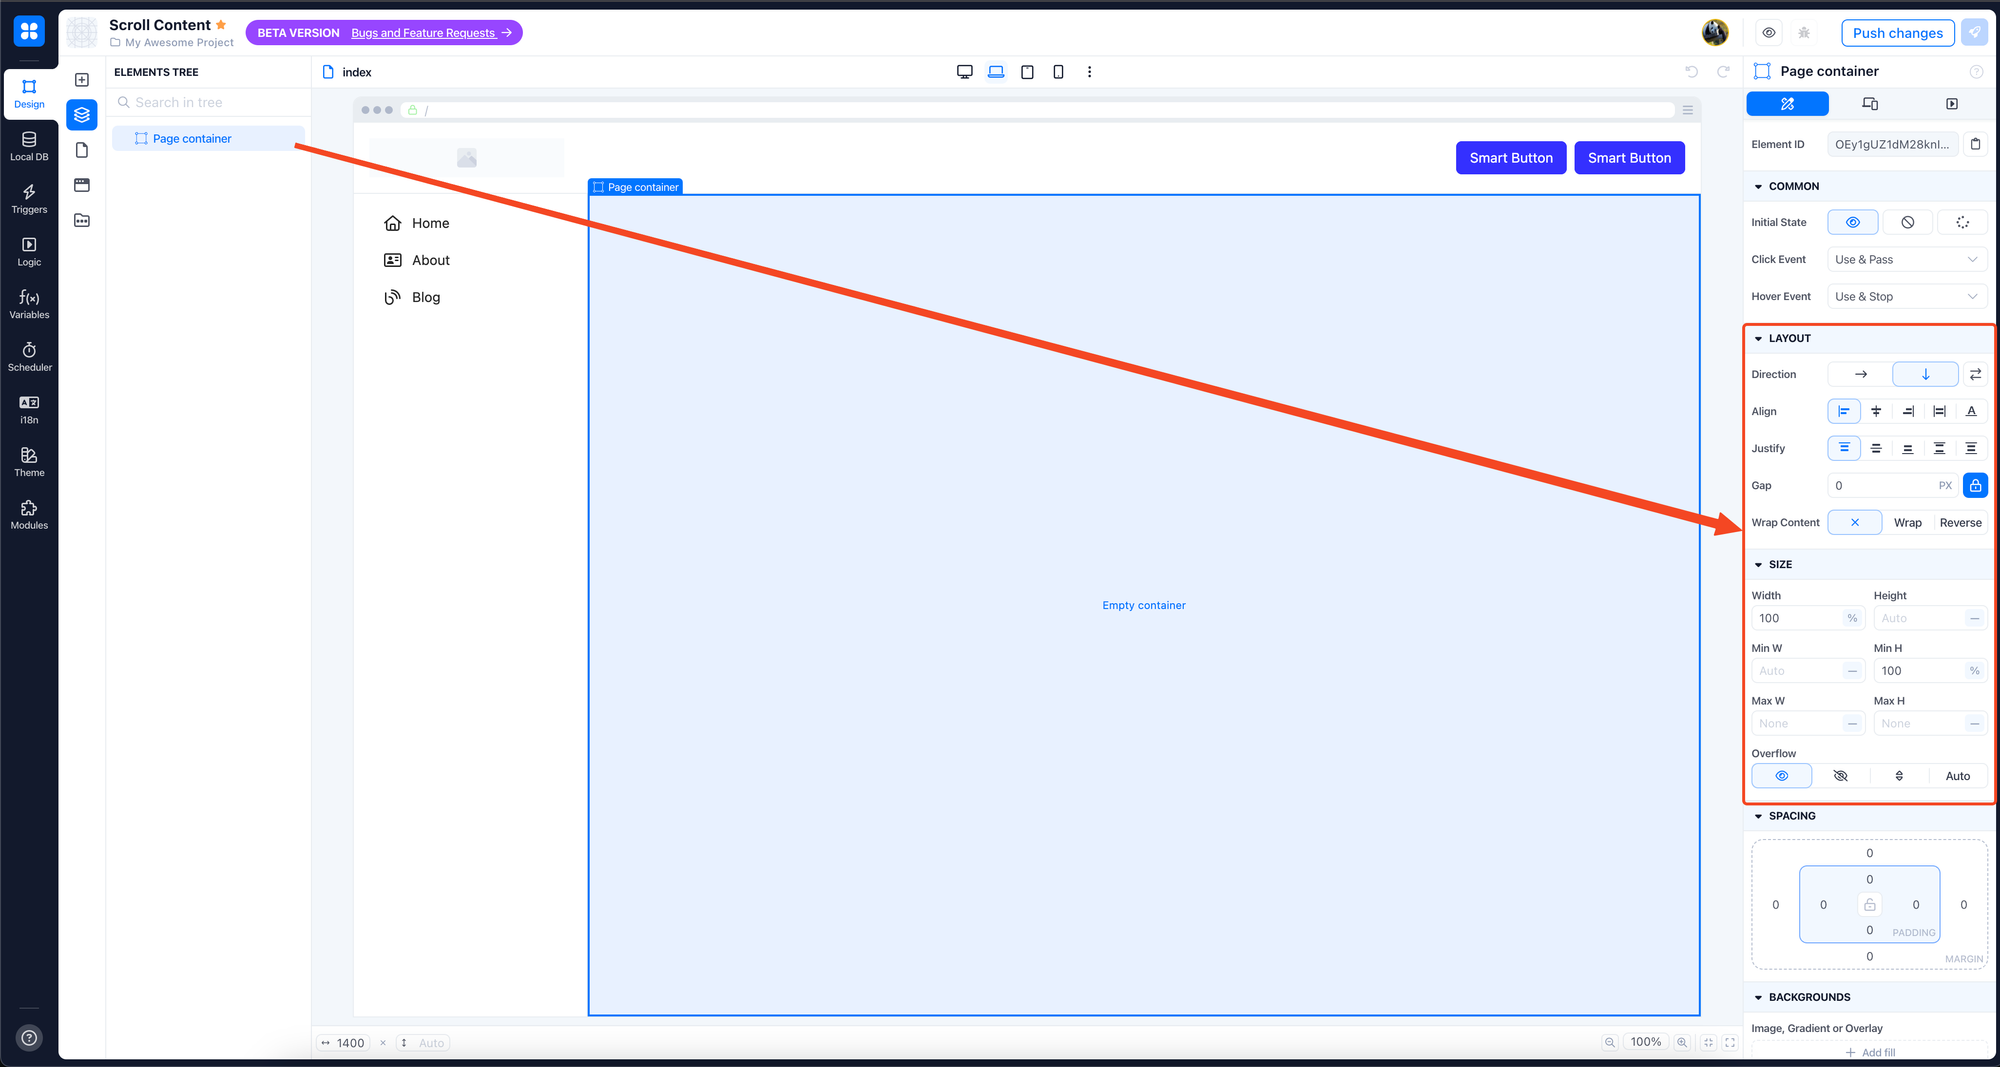
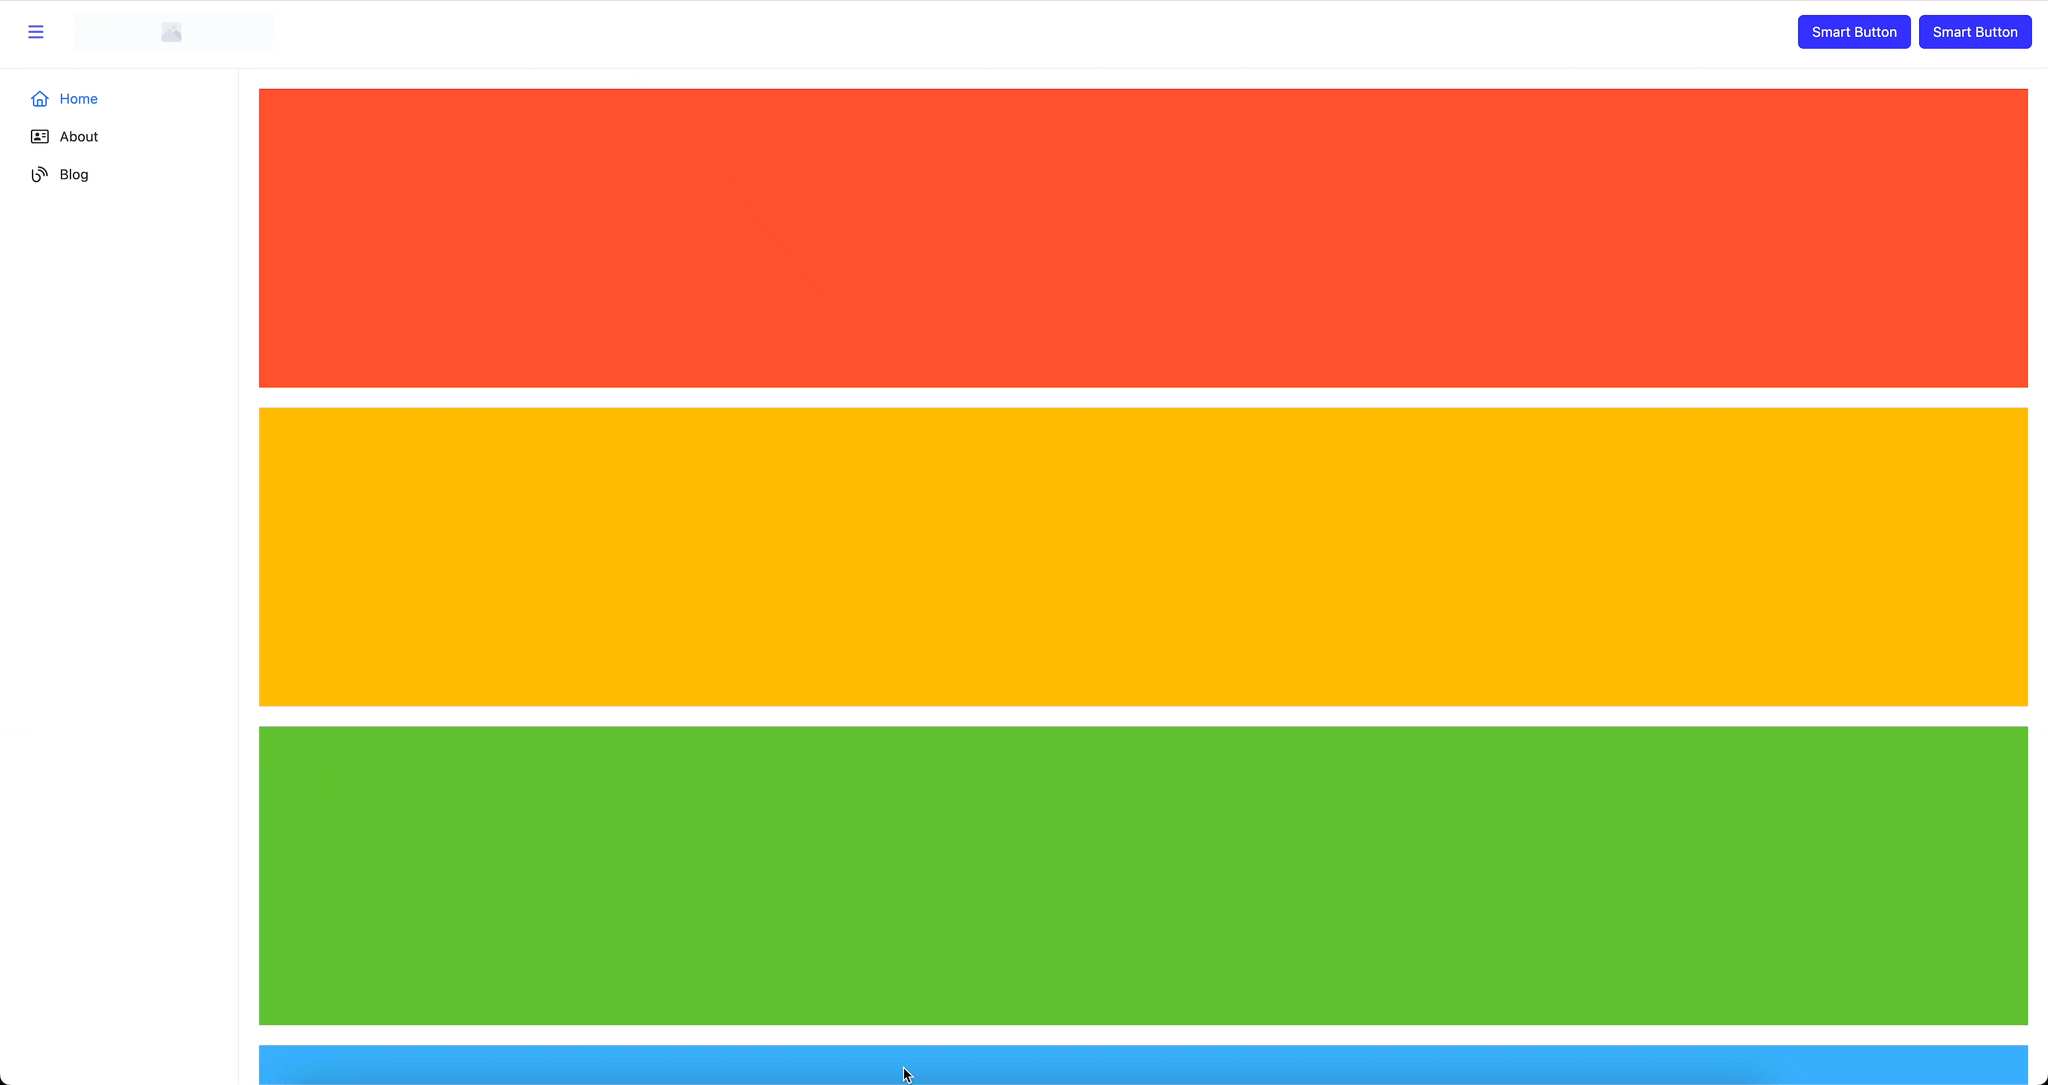
Fill your page with the necessary content and check the scroll. If all settings are set correctly, only page content will be scrolling.
Adding Sidebar Visibility Control
To control the sidebar visibility, add a button in the layout’s header. The sidebar visibility will toggle based on its current state.
Open the button Workflow panel.
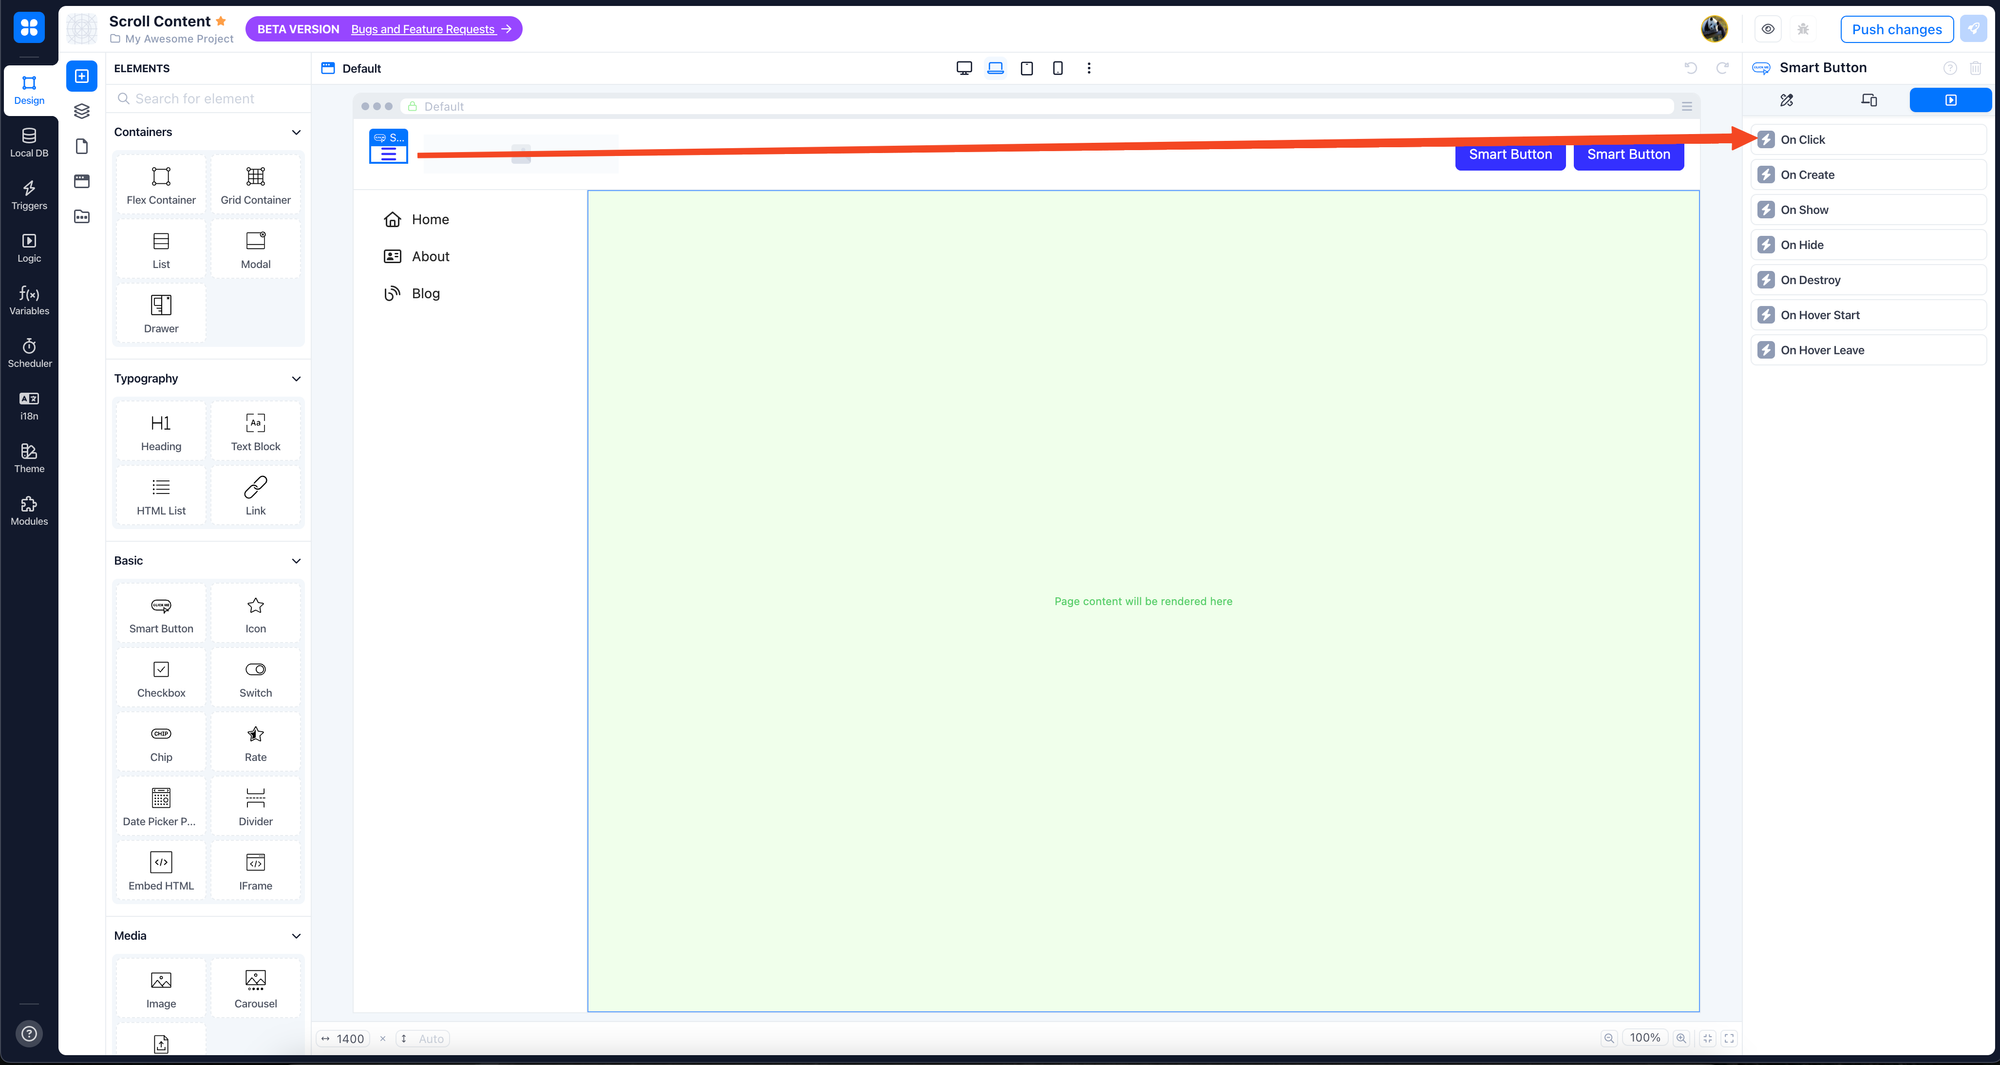
Select the onClick trigger to build a simple workflow.

Maintaining Sidebar State
To keep the state of the menu after refreshing the web page, add a global variable that will persist the state of the menu. Go to the Variables section and create a boolean variable with a default value of True.

In the Button business process, add a Set variables block to modify the variable’s value in the Button business process. This way, the sidebar state is preserved after each button click.

This way, the sidebar state is preserved after each button click.
Go to the Workflow Panel of the Sidebar and select the onCreate trigger.
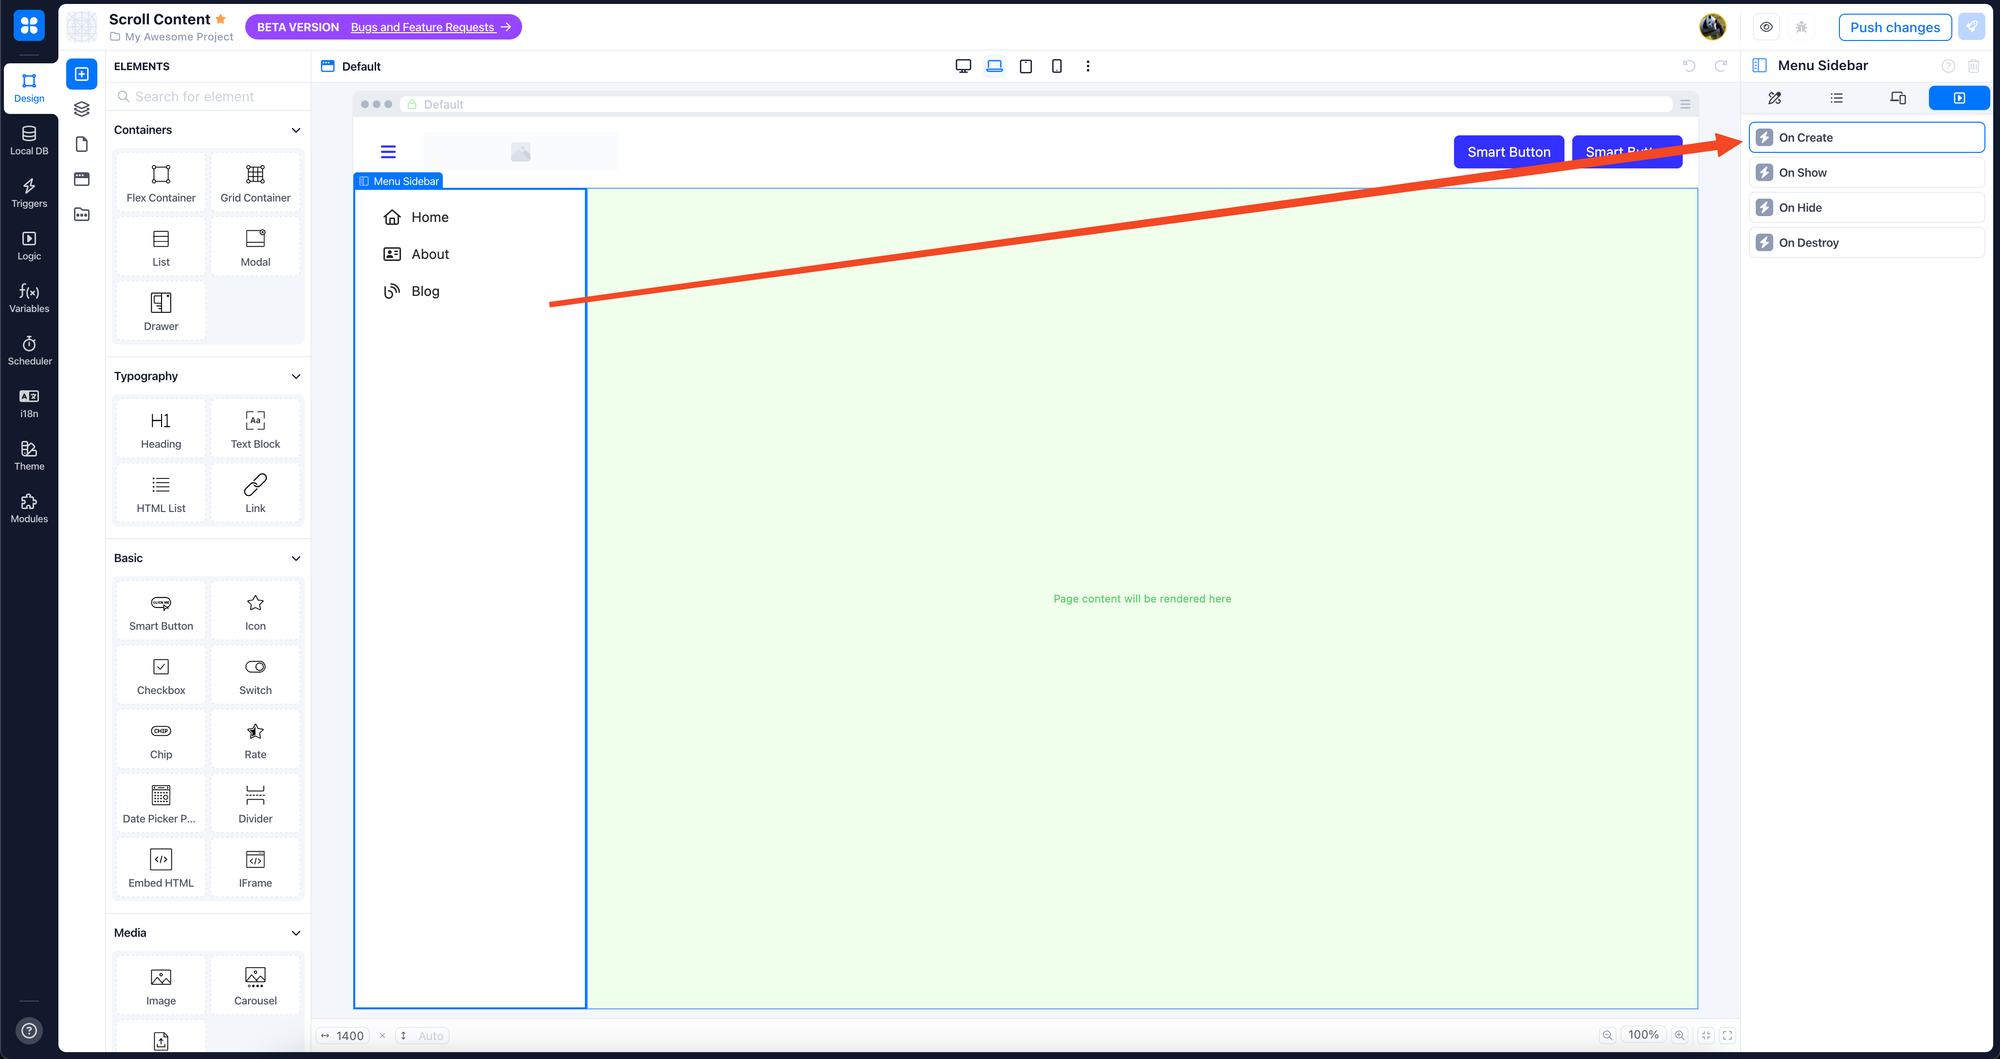
Use the Menu Sidebar Update Properties block and set the visibility value with a variable value. So, even after the page refresh, we get the saved state of the sidebar’s visibility: true or false.

If all business processes are built correctly, you can control sidebar visibility, and the state will be kept even if you refresh your page.
Further, you can customize your web app appearance and extend this logic, like changing the button icon based on the sidebar’s state.